Recently I was teaching a team of designers about wrapping textures and patterns around objects in Photoshop. I thought that it was useful enough to create a tutorial to help others. I teach these techniques in the Illustrator Classes and Photoshop Classes that I teach.
For this tutorial, you will need a copy of Adobe Illustrator and Photoshop. This technique can be used with any version of Photoshop back to version CS, it does not use the 3D tool, or the displace feature. It is rather simple, but you will be taken through a series of steps using masks to complete the project.
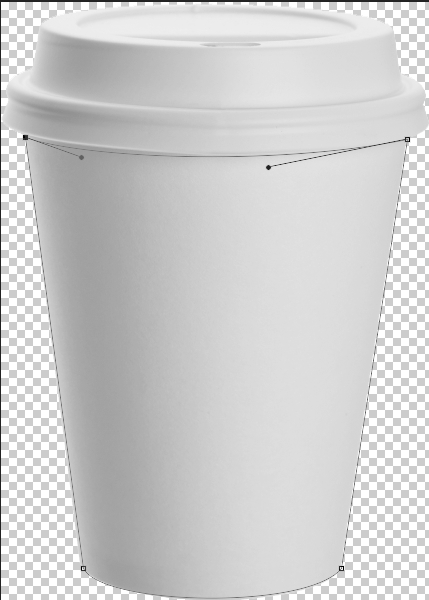
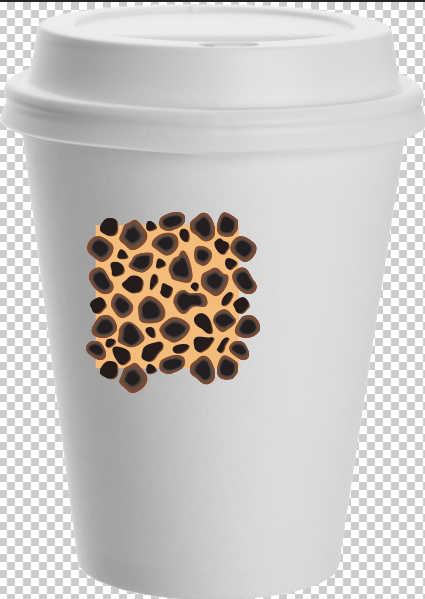
- Open the image of the object that you want to wrap a pattern or texture around. In this example, I use a coffee cup.
- Make a selection of the part of the image that you want to select. For my selection, I use the Pen tool, but you can use any technique you want for your selection.

My selection was made with the Pen tool.
I could keep this vector path and convert it directly into a mask, but to make sure you can follow along, I will go to the Paths panel and convert this path into a regular pixel selection.
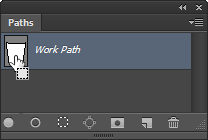
3. Select Windows > Paths. There you see your Work Path. Hold down your Control (PC) or Command (MacOS) key and click on the thumbnail of the path that you see in the Paths panel. Your Pen path is now an active selection.
4. Save your selection by selecting Select > Save Selection. In the Save Selection dialog box, name your mask mymask and press OK.

5. Deselect by pressing Control + D (PC) or Command + D (Mac OS)
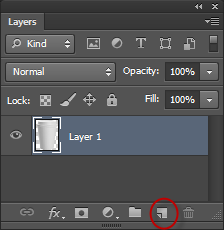
6. If you do not see your Layers panel, choose Windows > Layers.
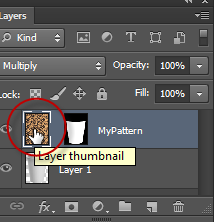
7. Hold down your Alt or Option key and click on the Create new layer icon at the bottom of the Layers panel. This creates a new layer, and offers you the opportunity to name it first. Call the layer MyPattern and press OK.
Creating a pattern or texture
If you already have a pattern or texture ready to use, you can skip this step. If not, I will now take you through a simple process of taking a pattern from Illustrator and using it in Photoshop.
1. If you don’t have Illustrator open, launch it now. Keep Photoshop launched as you will be pasting your Illustrator art back into it shortly.
2. Create a new document, I just use the default setting for Basic RGB, the page size does not matter, as you will just be copying a pattern out of this file.
3. Choose Windows > Swatches. We will now find some interesting patterns to use.
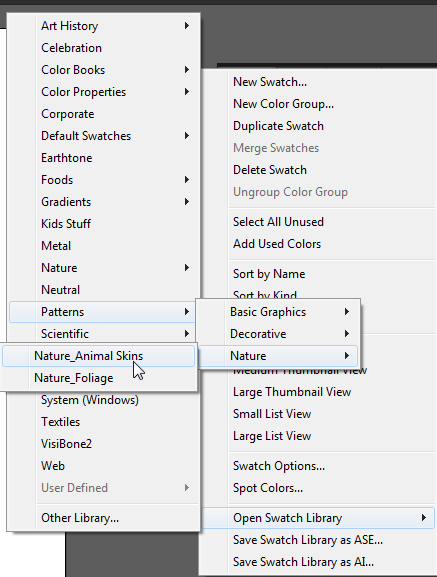
4. Click on the panel menu in the Swatches panel and select the following:
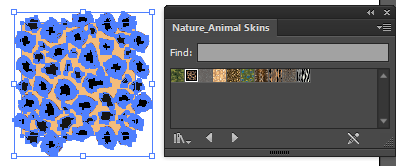
Open Swatch Library > Patterns > Nature > Nature Animal Skins. You can pick a different set of patterns if you would like. The pattern panel appears.
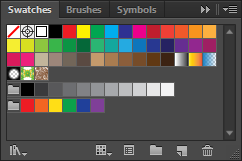
5, Choose the pattern that you want to wrap around your object in Photoshop, and drag it right out of the Swatches panel onto the canvas. I selected Cheetah.
6. With the pattern art still active choose Edit > Copy and return to Photoshop.
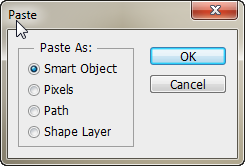
7. In Photoshop Choose Edit > Paste. When the Paste dialog box appear, leave it set to Smart Object and press OK.
8. Since this is a placed smart object you can scale it as needed. When you have the pattern sized to a scale value that you are happy with, press the Enter key to confirm the placement.
Defining the pattern in Photoshop
Now you will define the pattern in Photoshop.
1. Choose the rectangular marquee tool and find the repeat rectangle that is displayed in your Illustrator pattern.
2. Click and drag using the rectangular marquee to select the repeat area. Use Select > Transform to transform your selection if necessary.

3. Select Edit > Define pattern. In the Pattern Name dialog box, name your pattern, and press OK. I named mine Myanimalprint.

4. You don’t really need the pattern anymore, simply drag it to the Trash can in the Layers panel.
Filling your layer with a pattern
You will now fill your entire layer with the pattern.
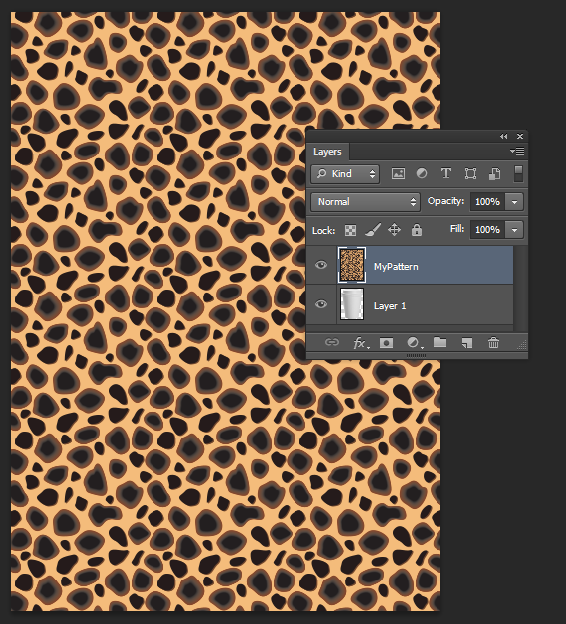
Return to your Selection tool and make sure the MyPattern layer is active, and that you have nothing selected, press Control or Command + D to be sure.
2. Select Edit > Fill and choose Pattern from the Use drop-down menu and then select your pattern, press OK. The entire layer is filled with your pattern.

Applying your saved selection to the pattern
Now you will apply your selection to the pattern layer.
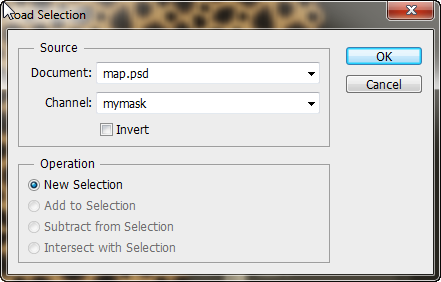
1. Choose Select > Load Selection and select mymask from the Channel drop-down menu. Press OK, and the selection appears.
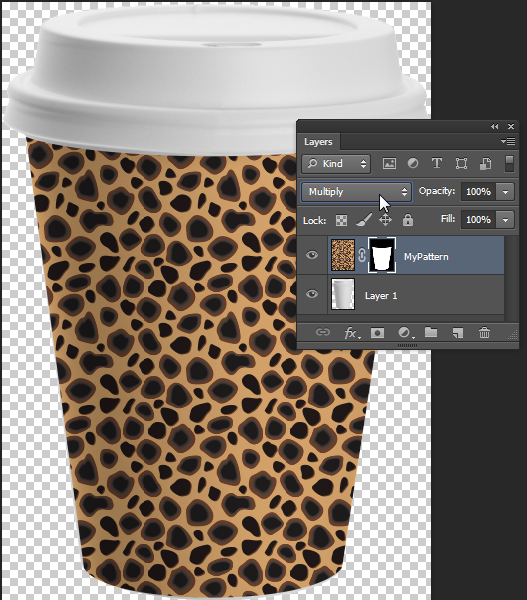
2. In the Layers panel, make sure that the MyPattern layer is still active and then click on the Add layer mask button at the bottom of the Layers panel. You pattern now has a layer mask that was created from your saved selection.
Your pattern may fit the selection, but might not show any shading. I usually apply a blending method to see the shading in the image below. The blending mode that you select my vary depending upon the pattern that you selected and the values in the underlying image.
1, To experiment with different blending modes make sure that you are on the Selection tool and then select Darken from the Blending drop-down menu in the Layers panel.
2. Press Shift + the arrow up or down to now cycle through all of the blending modes and see them immediately applied to the pattern layer. Pick a blending mode that works for your pattern.
Wrapping the pattern
In this next section we distort the pattern layer to make it wrap more realistically around the cup.
1. Make sure you are on the Selection tool and then make sure that you have no selection by pressing Control or Command + D.
2. Look for a chain icon between the MyPattern thumbnail and layer mask. Click on it toi unchain the mask from the layer.
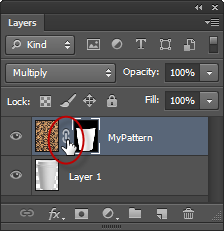
2. Make sure that the MyPattern thumbnail is active by clicking on the left thumbnail. This is selecting the pattern, but not the mask that you made.
3. Press Control + T (PC) or Command + T (Mac OS) the transformation handles appear.
4. Do any overall scaling that you want at this point, I am going to go right into the distortion.
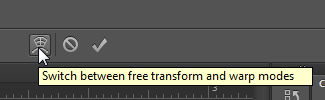
5. Click on Switch between free transform… button in the upper right of the Options bar.
6. You can try some of the preset warps for your object by selecting a warp from the Warp drop-down menu in the upper –left of the Options bar, or you can click and drag on the warp directly on your image.
Notice that as you warp the image, the selection remains intact. This is because you unlinked the mask from the pattern layer.
7, Create the warp that works well for you can then press Enter to confirm.
This technique also works great when you have large areas of texture to fill in to. We have used t to make garments look .like tweed, leather and more.
Have fun!